Turn your laptop upside down on a smooth surface so you don’t scratch it, you can put a towel under to make sure.

Remove battery and back cover and find corresponding part of your laptop matching red rectangle mark on the picture.

That is your hard drive, prepare Phillips screwdriver and unscrew all four screws 3/4 a way so they would be almost unscrewed.
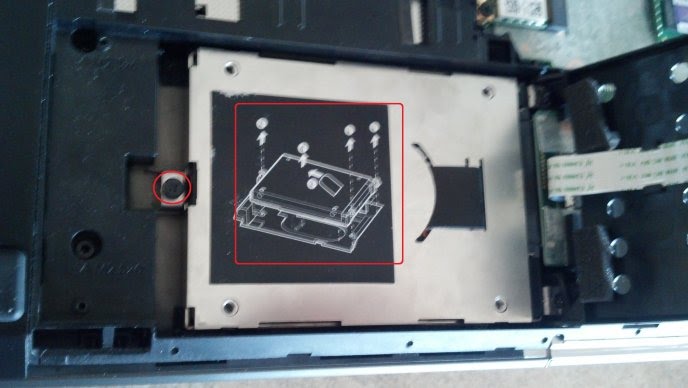
Turn around the metallic box and change your hard drive to desired one, there should be 4 more screws, 2 on both sides.
Put your computer back together in reverse order.
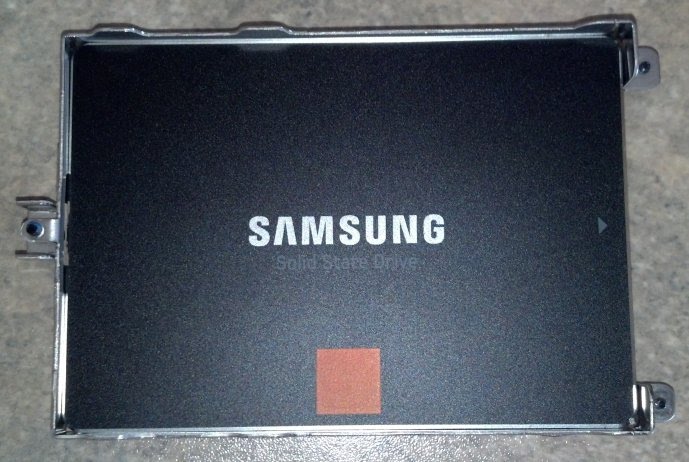
There are no specific instructions concerning SSD drive, it will work as a normal hard drive, nothing special needs to be done.
Official text from HP
Slide the battery release latch towards the battery icon to disengage the battery from the base enclosure. Remove the battery by lifting it out of the battery bay. Slide the accessory cover release latch towards the accessory cover release icon to disengage the accessory cover from the base enclosure. Lift the accessory cover and remove it.
Loosen the two captive P1 Phillips-head screws identified with hard disk drive icons that secure the hard disk drive to the base enclosure. Loosen the two captive P1 Phillips-head screws identified with hard disk drive icons that secure the smart card reader assembly to the base enclosure.
Lift the smart card reader assembly to the upright position. Loosen the one captive P1 Phillips-head screw that secures the hard disk drive to the base enclosure.
Using the Mylar pull tab, slide the hard disk drive to the left to disconnect it from the hard disk drive connector board. Remove the hard disk drive from the base enclosure and place in a static dissipative bag.